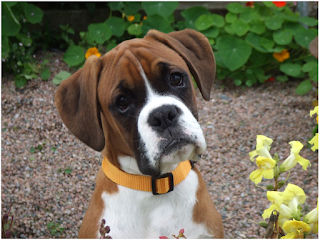
Step 1:
the Layers Palette and selecting “Duplicate Layer”Step 2:
Next you will want to make your selection that you want to be clear using whichever selection tool you prefer. I’m going to use the pen tool.Step 3:
Now hit the Letter “Q” to enter the Quick Mask mode. You should now have something that looks like this.In order to create a softer edge so the selected area blends better with the rest of the picture, we need to apply some blur. Go to Filter/Blur/Gaussian Blur. You will need to play with the slider a bit depending on your image resolution. Then click “OK” Here is the settings I used.
Step 4
Hit the “Q” again to exit the Quick Mask Mode. Now we need to save the selection. Do this by choosing Select/Save Selection. Name your selection something meaningful and click “OK”. I called mine “Face Selection”Hit Ctrl+D to deselect. Now if you click on the tab that says “Channels” right next to the “Layers” tab, you will see the selection you just created saved as an alpha channel in the Channels Palette. This is a great way to save and reload selections in your projects.


No comments:
Post a Comment